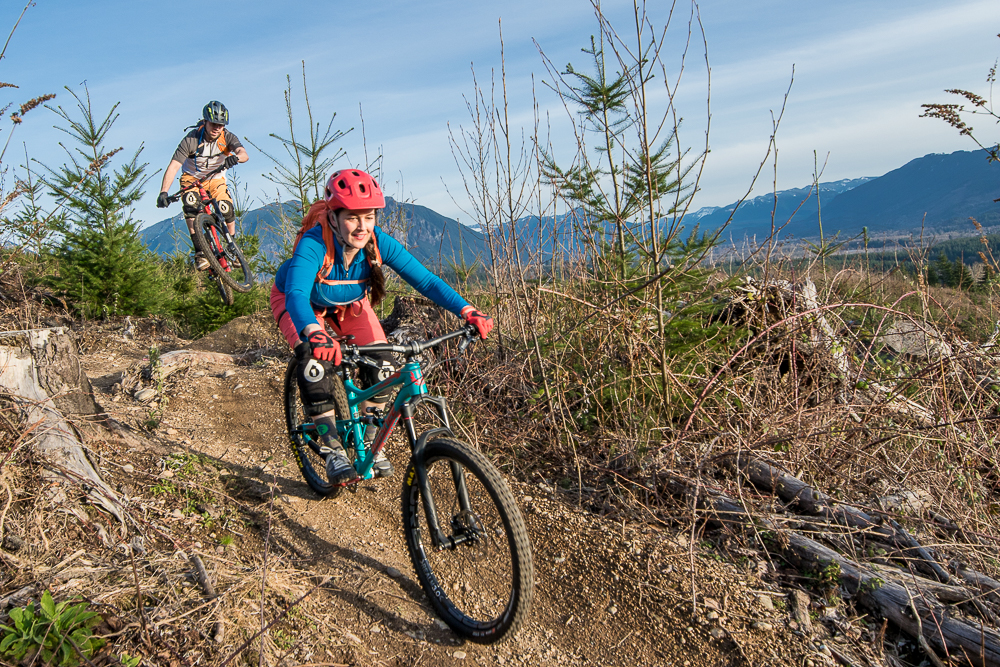
Welcome to Mountain Biking!
Chances are you’re here because you’re interested in mountain biking in Washington. Welcome! You’ve come to the right place.
We, at Evergreen Mountain Bike Alliance, are bike enthusiasts and compiled this list of tips and resources for you because we want you to fall in love with mountain biking and get started on the right foot– er, wheel.
Local bike shops are a great resource for bike-related questions, too. And if you’re looking to learn more about classes and clinics, group rides, or just pick up a few tips and tricks, then read on!
Know the Essentials
Be prepared. Nothing is worse than having a mechanical issue out on the trail or getting caught in the rain without a waterproof proper jacket.
- Food
- Water
- Rain Shell
- Spare Tube
- Tire levers
- Tire Pump
- Multi-tool for your bike
- Fully charged cellphone
- Navigation tool (preferably a combination of a GPS device/phone/paper map)
- Headlight (or flashlight)
- Basic first aid kit
Whenever you start a ride, you also should check the trailhead kiosk and make note of any information that might help emergency medical services or search and rescue get to you quickly in case of an emergency.
As you become a more experienced mountain biker, you’ll make adjustments to your “kit” over time to better suit your needs. It’s also important to take into account how tough your planned route is when deciding what to bring along. And remember, total mileage isn’t always the best indicator of overall ride difficulty. Elevation gain, trail difficulty, weather, and personal factors like your fitness level and experience play a major role in how long you’ll be out in the elements. Another thing to consider is whether you’ll need a parking pass at the trailhead you’re visiting. Most trailheads in Washington will be free to park in if they’re located on county land, but you’ll need a Discover Pass for state land, and you’ll need a Northwest Forest Pass for national forests.
Equipment Essentials
Ok, so you found a sweet new ride. Ready to rip, right? Almost! We need to make sure you have the right equipment. We also want to make sure your bike is in good working order.
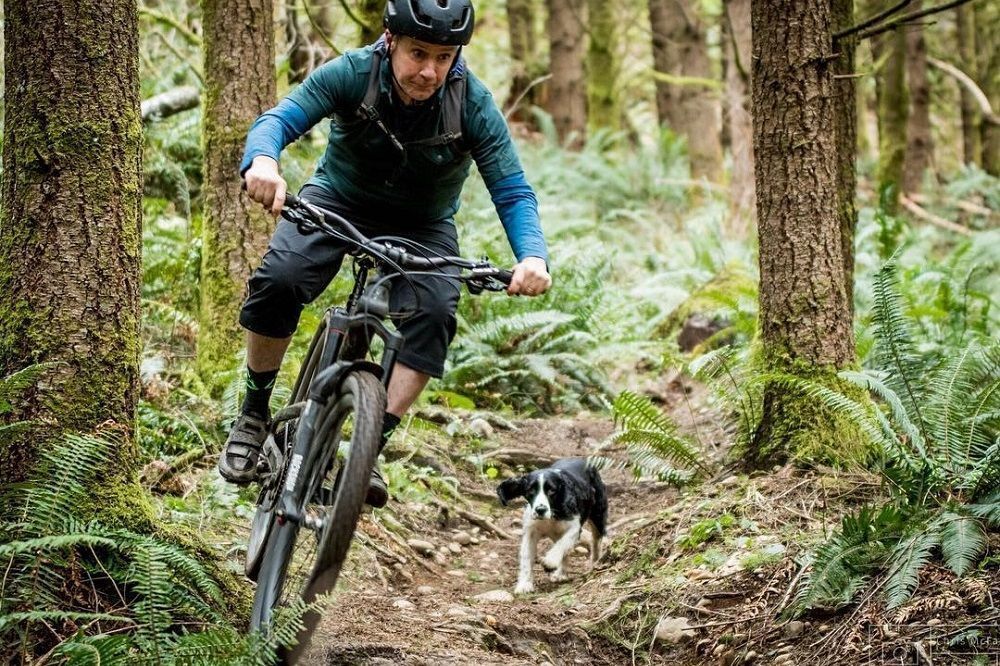
At an absolute minimum, you need to have a high-quality helmet. If there’s one item to splurge on, it’s this. Helmets are not optional in mountain biking– regardless of your experience or skill level. Your local bike shop is the best place to find a helmet that fits well and will protect your noggin. Beyond the necessities of a good helmet and a reliable bike, here are a few basics that make a big difference:
- High-quality helmet If there is anything to “splurge” on with bike gear, this is it. Expect to spend upwards of $150 on a mountain bike helmet and make sure that your helmet is (at a minimum) CPSC and/or DOT certified. Many helmets have technology like MIPS or Fluid Inside that protect against torsional impacts, which we highly recommend as well. It’s also important that your helmet is relatively new (as of the last three or four years) and that you replace your helmet after any significant crash.
- Sturdy pedals (Get some with proper metal pins to prevent your feet from slipping. You’ll feel more secure right away, trust us!)
- Proper riding shoes (Just like pedals, you’ll learn right away that mountain biking shoes with firm soles and sticky rubber will do wonders for keeping your feet on the bike)
- Hydration pack (while its easy to make do with a pack you already have, you’ll need something to carry your essentials comfortably)
Before you venture out onto a trail, make sure you’re familiar with how your bike works, and that everything is in working order. The more time you spend on your bike, the more natural the movements of turning and navigating obstacles out on the trail will feel.
- Spend time pedaling around your neighborhood and experiment with shifting and braking.
- If your bike has suspension, bounce around on it.
- If your bike has a dropper seatpost, practice dropping it down by pressing the lever on your handlebar with your weight on the seat, and then letting it back up by standing.
In addition to feeling comfortable on the bike, you also want to make sure that your bike is running well and has no mechanical issues.
- Make sure that you’ve got air in your tires.
- Do your brakes feel strong?
- Does it shift properly?
- Any loose bolts, screws, axles, etc?
- Check out this video by one of Evergreen’s skills instructors on how to do a proper bike check
If you have any doubts about the integrity of your bike, take it to your local bike shop to have a professional mechanic do a safety check.
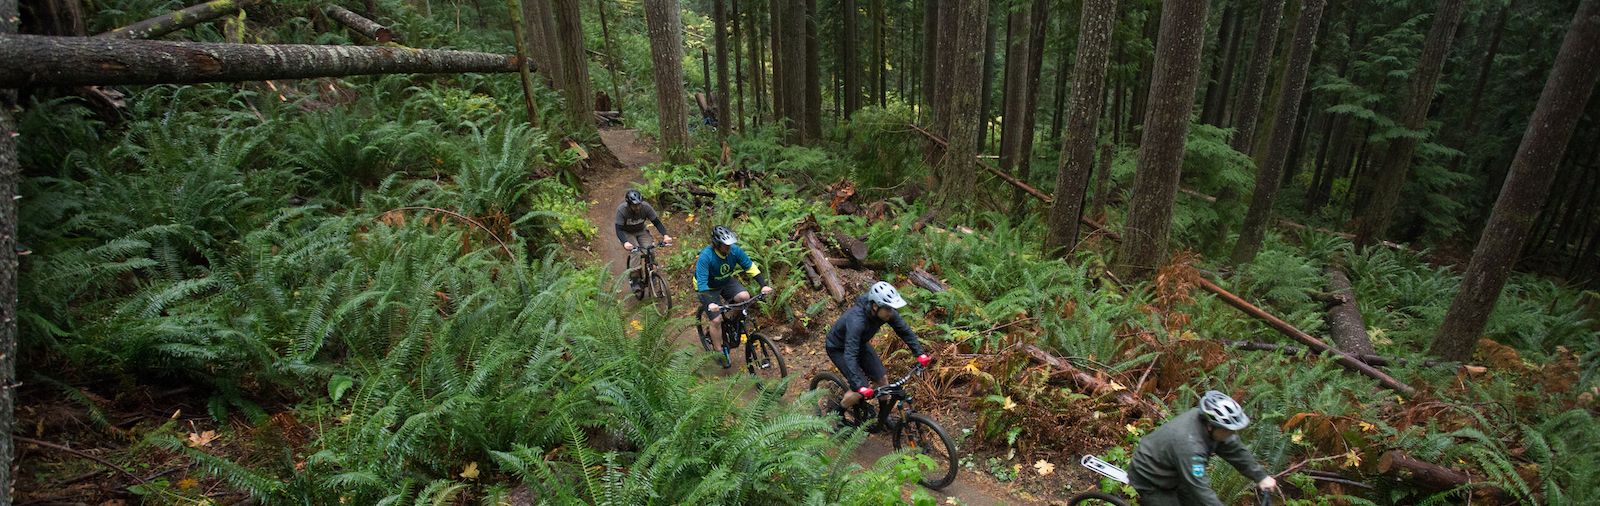
On The Trail
Use Trailforks and our Trail Guide as a tool for learning trail systems and figuring out how what kind of a ride you’re about to go on. Keep in mind, though, while Trailforks is an awesome app, it’s worthless if your phone runs out of batteries in the middle of a ride. Make sure you’re charged up!
Trailforks
- The Trailforks app is the go-to for on-ride navigation and trail descriptions.
- Please note that Trailforks requires an annual subscription to use the “Pro” version of the mobile app, which lets you view trails for more than one riding area. At $36 a year, Trailforks Pro costs only as much as a couple of paper maps, and lets you view and learn about riding areas all over the world! We highly recommend you purchase Trailforks Pro before you head out on your first ride.
- If you don’t want to purchase Trailforks Pro, the app lets you choose one riding area to view and use, which can be a good way to try before you buy.
- Download Washington State maps, that way you’ll be able to access the maps even when out of cell service.
- Using the app, review your planned route – taking special note of total mileage, turns, directional trails, and any big climbs you may be faced with.
- Some areas even have pre-loaded routes if you need help navigating!
Evergreen Trail Guide (Free)
- The Evergreen Trail Guide is another resource for trails in the state.
- This guide focuses on area overviews, so it’s great for finding new riding areas but Trailforks has more detail about specific trails.
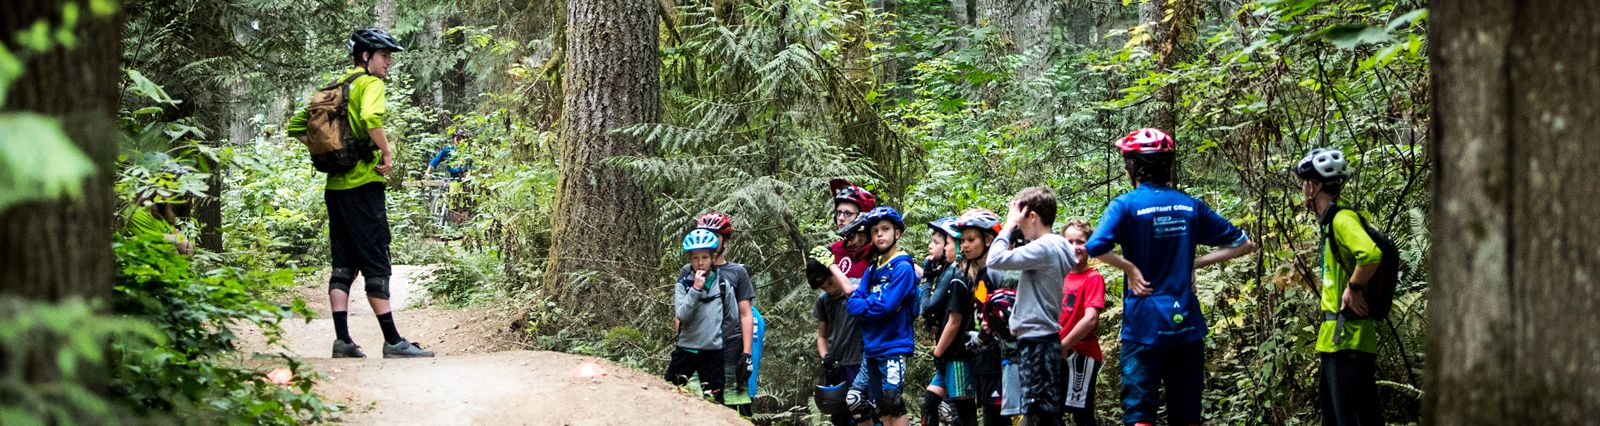
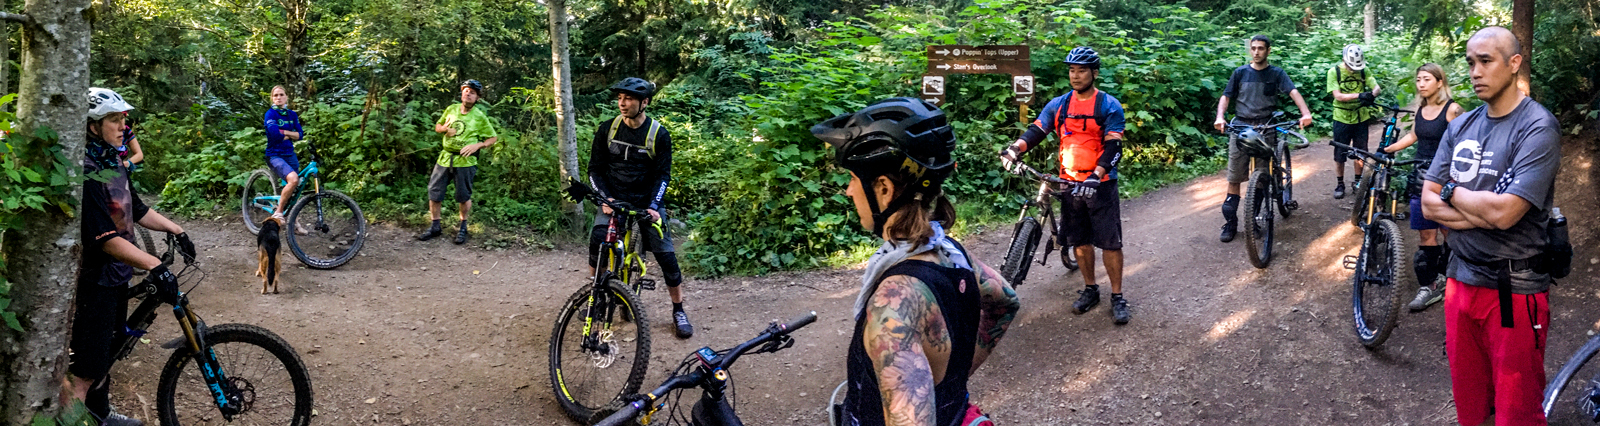
Practice Good Trail Etiquette
Good trail etiquette is kind of like wearing a helmet, it’s just part of being a mountain biker. While etiquette looks a little different depending on each region’s riding culture and on each unique situation, there are the basic guidelines:
- Always stay in control and be attentive.
- Leave no trace and respect wildlife. Never leave anything behind– on the trail, at the trailhead, or in the parking area.
- When on two-way trails, yield to uphill riders if you’re the downhill rider.
- See a stopped rider? Always check to see if a stopped rider is okay before passing and continuing your ride.
- Be prepared! Never rely on other riders for spare tubes, pumps, water, food and other essentials.
- Know your local region’s etiquette. In many regions, riding in the wet is a surefire way to damage your trails, in others, a healthy serving of mud is just fine! Reach out to your local Evergreen chapter or trail association to learn the etiquette for your area.
- Finally, be positive! Mountain biking is fun. Excitement and a good attitude are contagious– the more you spread them, the more people like you will be out on the trail.
Right of Way
- With many trails being two-way and multi-use, this is a key to safety and getting along!
- Our Trail Etiquette 101 guide has all the information you need to get started.
- A quick wave and a friendly greeting goes a long way in making all trail users feel welcome.
Looking for more tips and tricks? Check out the invaluable Essential Guide for Beginner Mountain Bikers in Washington--it’s full of resources and links.
Evergreen & Diversity, Equity, and Inclusion
“What does Evergreen have to do with racial justice?” Evergreen’s mission is to make Washington the best place to ride. Until the trails that we work so hard to build, maintain, and advocate for are enjoyed by everyone with the same degree of accessibility, inclusivity, and safety, then we still have work to do!
In June 2020, Evergreen community members came together to form a Diversity, Equity and Inclusion Committee to shape how Evergreen can better live up to its values, and also improve access to and inclusion within mountain biking for riders of all races, sexual orientations, abilities and life experiences.
Evergreen’s DEI Committee is moving forward with workgroups in five main topic areas; Marketing and Communications, Education and Events, Internal Operations, Trail Facilities, and Access.
The work done by each workgroup will inform how Evergreen functions to serve our community more equitably on a day-to-day basis while also spark ideas and create a vision for our next 5-year strategic plan (2025).
As an organization that builds not just the infrastructure of mountain biking, but also the community, Evergreen believes that it must play a central role in breaking down barriers for others to enjoy mountain biking.
Click here to learn more about Evergreen’s DEI committee. Want to get involved? Contact us.